Lab 1 - Build and Push Containers to Azure Container Registry
The first step will be to create a Docker Registry, we will use Azure Container Registry for that.
Create an Azure Container Registry
Resource Group
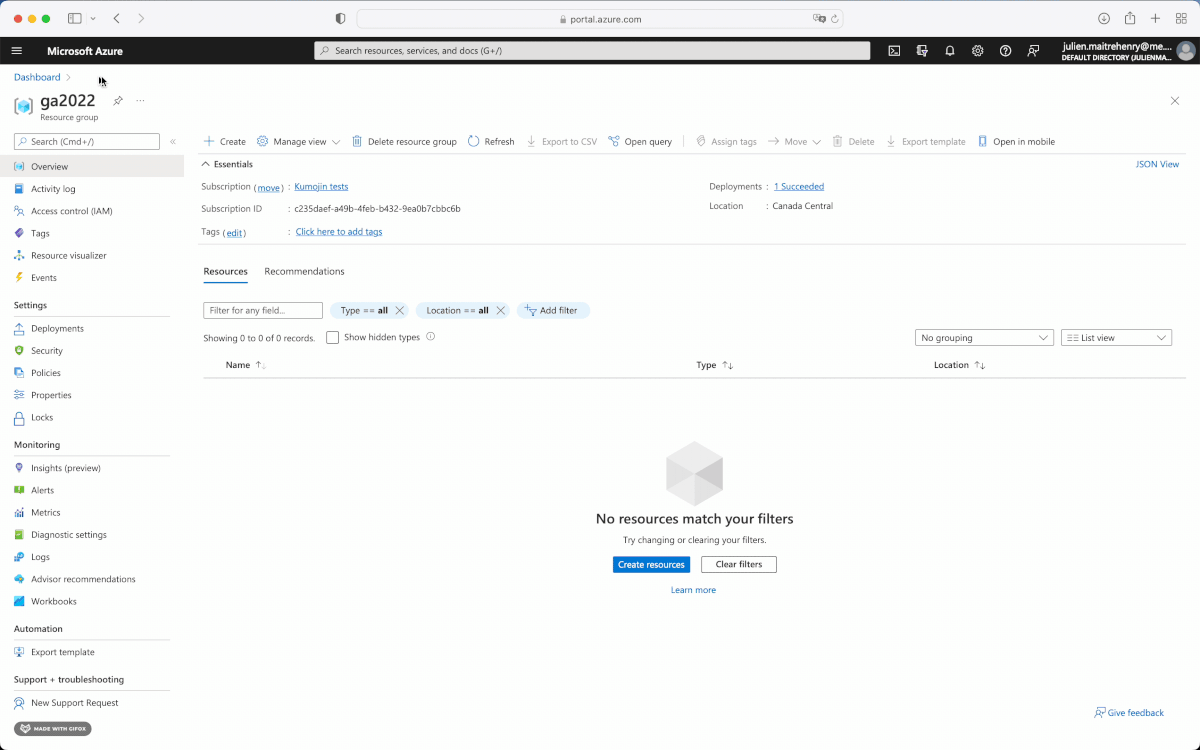
If needed, a new Resource Group can be created. It is recommended to create a new resource group for this tutorial, after which cleaning up will be easier.
In Azure Portal's Resource groups, create a new resource group under your subscription.
Container Registry
In Azure Portal, create a new registry. You have many way of creating a ressource in Azure Portal
On the top left menu
In a Ressource Group
In the pannel of the product you want to create
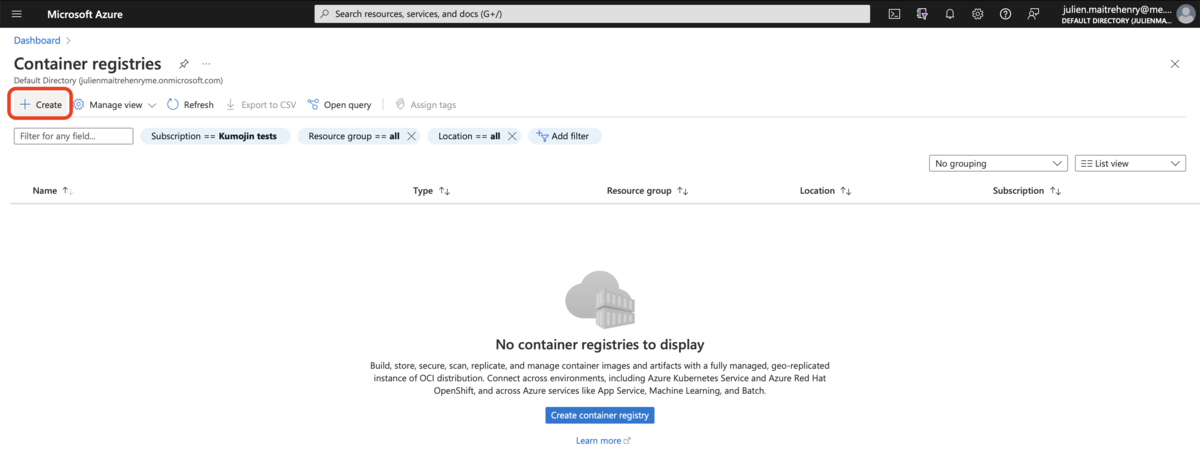
Creating the registry
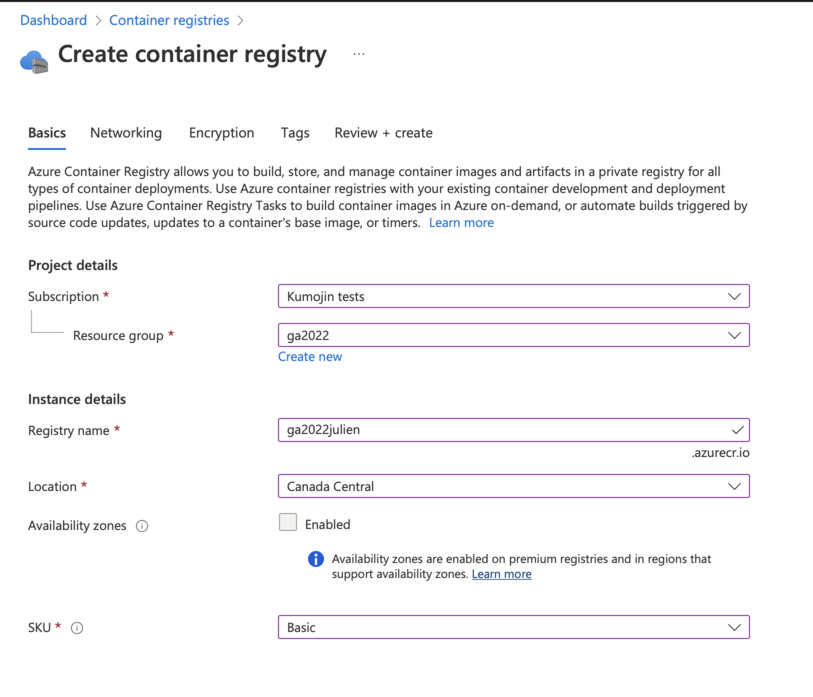
Now, choose your subscription, ressource group, a name and a location. For the SKU, choose Basic as we do not need more for this workshop.
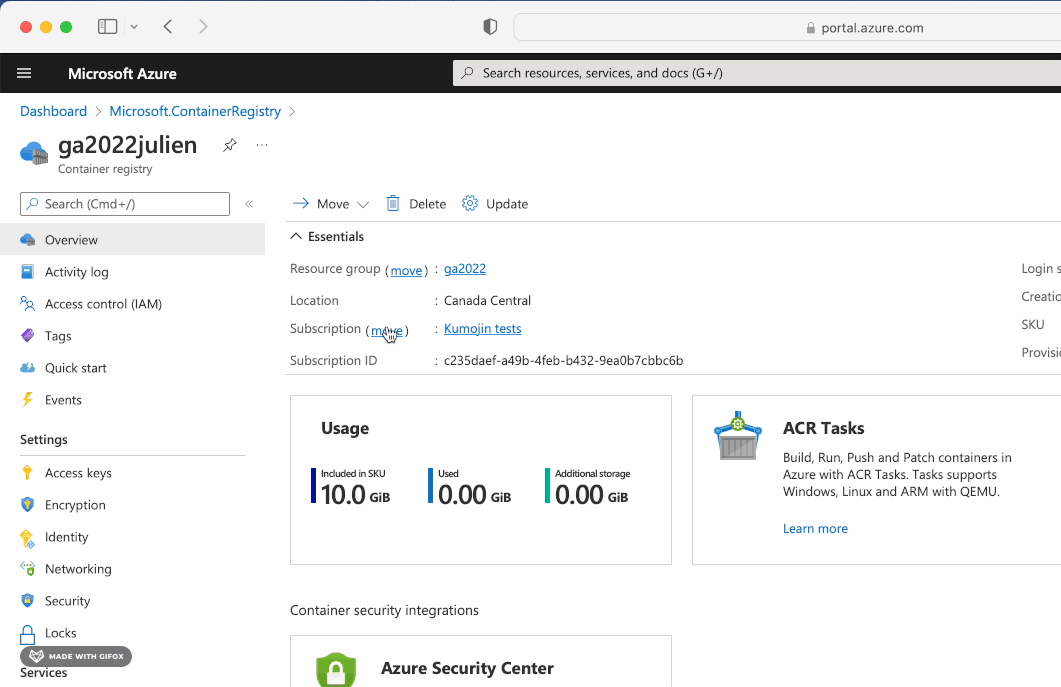
After the registry is created, in that registry's Settings > Access Key, enable Admin user. This may not always be adviseable, but this enables the manual deployment in the lab-2 tutorial.
Note: The Access Keys method should be replaced by using a service principal when possible as it's not the most secure way to connect to the registry. Also, the key in the screenshot are no more valid, if you share a key, you can rotate it to invalidate it ;-)
Build and Push the Containers
This step builds the two applications locally:
docker build -t <registry-name>.azurecr.io/words:1.0.0 ./words
docker build -t <registry-name>.azurecr.io/web:1.0.0 ./web
Then the following will log into Azure, and push the containers.
During the login, use the registry's admin user's name and password from the previous step.
docker login <registry-name>.azurecr.io
docker push <registry-name>.azurecr.io/words:1.0.0
docker push <registry-name>.azurecr.io/web:1.0.0
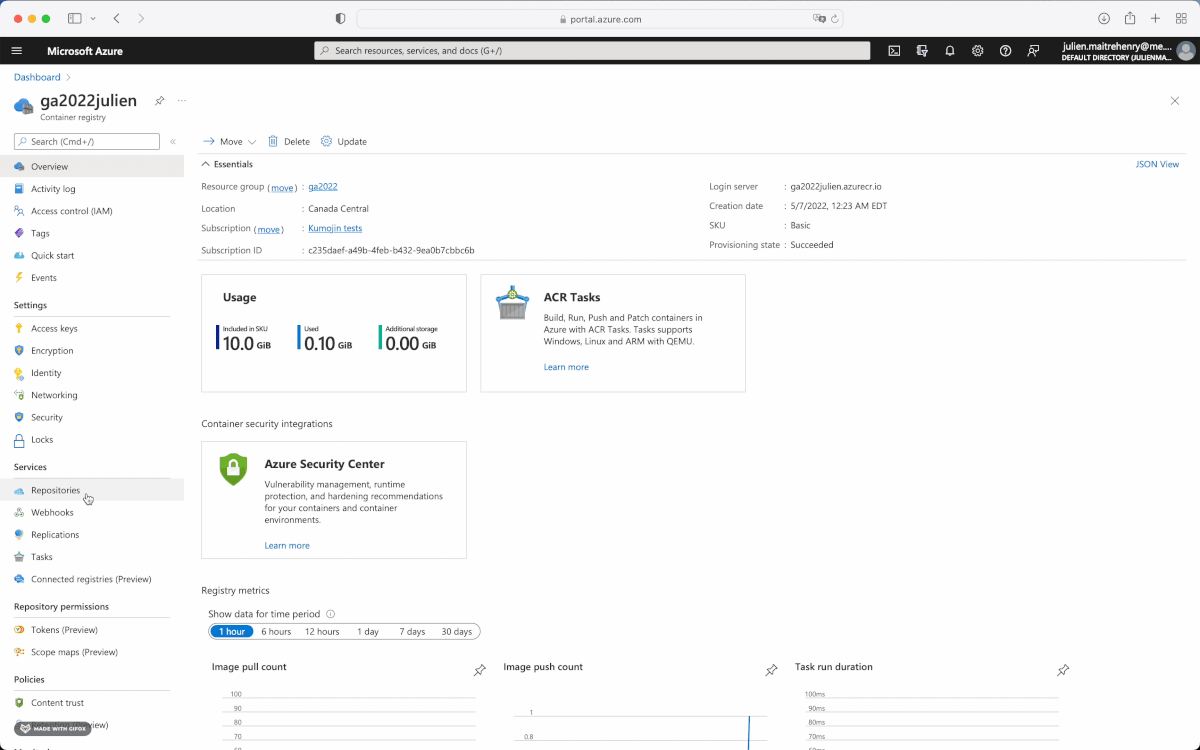
Finally, in the registry's Services > Repositories, validate that the two Docker images were pushed successfully.
Summary
In this step, we created a private docker registry, built two docker images and pushed them into the cloud.
Note on public and private registries: When a project contains private or sensitive data, it is important to use a private registry. Other projects, such as open-source applications, may be pushed to public registries so that everyone can pull them. Docker Hub is a popular service that offers both public and private registries.